Building developer-friendly Landing Pages

In this post you will learn how to create fast and beautiful landing pages quickly, while maintaining flexibility and full control of source code.
Recently I had to build a landing page for my new project - Spike billing and was looking for the best solution to build one with a great balance for ease and flexibility.
This is a full-length post of my Twitter thread on making Developer-friendly Landing Pages:
Developer-friendly Landing Pages in just a few hours:
— Arunas Skirius (@arukomp) June 6, 2022
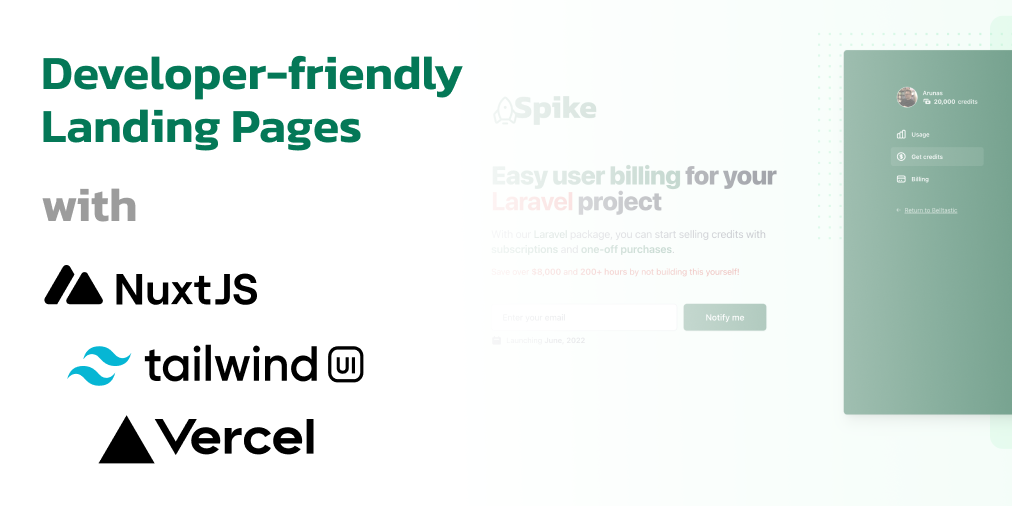
1. @nuxt_js for server-rendered and fast pages using Vue
2. @tailwindui for pre-built and styled UI components using @tailwindcss
3. @vercel for free, fast and effortless hosting
Here's why I made these choices:
The problem with page builders
As an experienced developer, I like having control over my websites. Being able to see, edit and publish any fine-tuned changes in HTML, CSS, JavaScript and all of the backend logic. That is not something many of the "Landing Page builders" can give or promise.
I was actually considering simple page builders like cardd.co, wix.com, and some others. But it felt overwhelming for several reasons:
- It was ugly. I could not find the design I was looking for from the templates provided. Even if I did find something to my liking, the customisation options were limited.
- It was a new skill to be learned. With the advanced editor's like the one from Wix - I was overwhelmed by the amount of options available. Felt like I had to learn a whole new tool. How long is that gonna take?
- It was expensive. Many page builders are free to start with, but once you want to remove the branding/watermark, or get more bandwidth/pageviews, or add some plugins - it's gonna cost you.
I already know my way around HTML/CSS/JS, so why do I need a page builder? I don't. And that's when I decided to use the tools I already have on my belt.
Choosing the tools
It's best to use the tools you already know, because it will speed up the whole process for you. But for the sake of an example, I will be showing the tools I have chosen personally to develop my landing pages.
The frontend
Landing pages are mostly just the frontend - HTML/CSS/JS. I have already built several products using Vue.js and I feel very comfortable with it, so I have chosen Nuxt.js v3 for building the frontend.
Why not just a plain Vue.js project? Because I like the fact that Nuxt.js is very capable and easy to use, easy to add more pages in the future if needed. It has a great ecosystem as well, so I trust it will work for a long time to come.
But again, one of the main focus here is speed - we want to build the landing page as fast as we can. Thus I have chosen Nuxt.js.
By the way, I also wrote about Nuxt.js and now.sh (rebranded to Vercel) 3 years ago, so I'm a long-time fan of Nuxt.js!
Nuxt.js pros:
- light, fast, very minimal configuration
- routing by convention ("pages/cars.vue" file represents your /cars route)
- uses Vite - new generation tooling
- server-side rendering
- supported by Vercel (will talk about later)
If you're not in the Vue.js ecosystem and you prefer using React or Svelte, then there are still some great options available for you:
UI framework
Let's face it - almost nobody's writing pure CSS from scratch any more. CSS frameworks exist to help developers work faster and more systematized.
TailwindCSS is a well-known CSS framework that I've been working with for a long time. I understand it well and that helps me build the landing page faster!
With that said, I already had a license to TailwindUI - a collection of pre-built UI components using TailwindCSS, so I can just copy/paste the code into my own codebase as a starting point. What's faster than copy/paste? 🤷♂️
TailwindUI pros:
- pre-built HTML/React/Vue code examples. Just copy & paste!
- offers a wide range of application UI, marketing, and e-commerce components
- responsive!
TailwindUI cons:
- expensive - at €239 (+ taxes) it is on the more expensive side, but it's a lifetime purchase and the team is constantly adding more components/examples to their library
Again, there are several different options available for building out the UI. Some are cheaper, others are better:
- Flowbite Pro - an alternative to TailwindUI which has ongoing development. It also has free components to use if you can build out the UI yourself.
- UntitledUI - a plentiful library of UI components, all in Figma. This allows you to quickly drag-and-drop components within Figma to try out different designs, but you'll have to convert that into HTML/CSS yourself. Just look at these Landing Page examples!
- Tailgrid - beautiful components made with TailwindCSS
- ThemeForest - a marketplace of templates. If you can't find what you're looking for above, you might try browsing these templates. With the HTML/CSS provided, you will have very changes to make before you launch.
Hosting
For hosting a landing page, you want something that just works fast out of the box. That means global CDN, SSL, and possibly Edge functions. Luckily, these options are becoming standard nowadays and there's quite a few services to choose from.
Vercel was my choice for hosting static pages, or server-rendered pages, and it supports Nuxt.js out of the box with 1-click deployments.
Once I had the landing page done in Nuxt.js, deploying it via Vercel was a breeze! It's fast, easy, and most importantly - free (for non-commercial/personal sites).
Vercel pros:
- easiest deployment setup in the world (just connect your GitHub repo!)
- free to get started ($20/m if you have commercial sites, but you can have unlimited sites)
- serverless functions if needed (and I did need them)
Here are some strong alternatives:
- Netlify - very similar to Vercel in that it's free, fast, easy to use, and supports Nuxt.js out of the box, and has serverless functions (lambdas) as well!
- Render - free and easy to use hosting of apps, including javascript apps like Nuxt.js. It has support for more advanced services like a PostgreSQL/Redis if needed!
- DigitalOcean App Platform - a recent offering from DO makes it possible to easily deploy simple apps for free, like our landing pages.
Building a landing page in 2 hours
Now that we have chosen all the tools needed to build and launch our landing page, let's get started and go through it step-by-step.
1. Create a new Nuxt.js project
For this I have chosen the newest release candidate version of Nuxt.js in order to use Vue.js 3 which I am familiar with:
npx nuxi init landing-page
2. Add TailwindCSS to the project
Nuxt.js v3 already comes with PostCSS that is required by TailwindCSS, so we don't need to worry about it like in previous versions.
Install the dependencies:
npm install -D tailwindcss autoprefixer@latest
Create a new tailwind.config.js configuration file:
npx tailwindcss init
Update nuxt.config.ts and include the postcss configuration for tailwind
export default defineNuxtConfig({

    // ... other settings

    postcss: {
        plugins: {
            tailwindcss: {},
            autoprefixer: {},
        },
    }
})
Create a new file - assets/css/main.css - with these contents:
@tailwind base;
@tailwind components;
@tailwind utilities;
Then go back to nuxt.config.ts and add a config option to load this CSS file into the layout:
export default defineNuxtConfig({
    css: [
        'assets/css/main.css',
    ],

    // other options
})
Update the tailwind.config.js file to include the content files that should be scanned for Tailwind classes:
module.exports = {
  content: [
    "./components/**/*.{js,vue,ts}",
    "./layouts/**/*.vue",
    "./pages/**/*.vue",
    "./plugins/**/*.{js,ts}",
    "./app.{js,vue,ts}",
  ],
  theme: {
    extend: {},
  },
  plugins: [],
}
Good job! TailwindCSS is now installed on your Nuxt.js project.
3. Start building your UI in Nuxt.js
This is where you look for inspiration or copy/paste the marketing components from places like TailwindUI. I copied mine into separate sections, like so:
components
 ﹂HeroSection.vue
 ﹂FeatureSection.vue
 ﹂CtaSection.vue
 ﹂Footer.vue
Which I later dropped into app.vue like so:
<template>
    <div class="bg-emerald-50">
        <main>
            <HeroSection />
            <FeatureSection />
            <CtaSection />
        </main>

        <Footer />
    </div>
</template>
4. Choose a colour scheme from TailwindCSS
Tailwind already includes a nice selection of curated colours to use in the project. Choose the ones you like and note them down. If you have your own colours, you can always customise the tailwind.config.js to extend your own colours.
5. Update the components with chosen colour
After copy/pasting the examples from TailwindUI, it was using a different colour scheme than what I wanted. Luckily, changing it is quite easy because of Tailwind's syntax. All I had to do was switch bg-indigo-600 with bg-emerald-600. Literally just searching the whole file for -indigo- and replacing it with -emerald- . Easy!
Make sure to preview the page in the browser to be sure you haven't missed anything.
6. Add your own content
This might be the hardest part if you don't already have any content to place on the landing page, such as marketing copy, screenshots, etc.
Go through every component and make sure to replace the placeholder lorem-ipsum with real marketing copy. Add your own screenshots. If you need to make small adjustments or combinations of your screenshots, I cannot recommend Figma enough - it's great for everything design-related, as it let's you build a frame from multiple elements and export it as an image or SVG.
Double check the website to make sure you haven't left any lorem-ipsum by accident. Update your footer, and any links on the page!
7. Push to GitHub
First, let's initialize a git repository for this project
git init
Luckily, GitHub now allows unlimited private repositories for everyone. If you don't want to share the code of your landing page, then create a private repository. But keep in mind, that many hosting services like Vercel or Netlify will require you to pay in order to deploy from private repositories.
Once you've created a GitHub repository, copy the git URL and add it as the remote origin to your git repo:
git remote add origin <url>
git push origin main
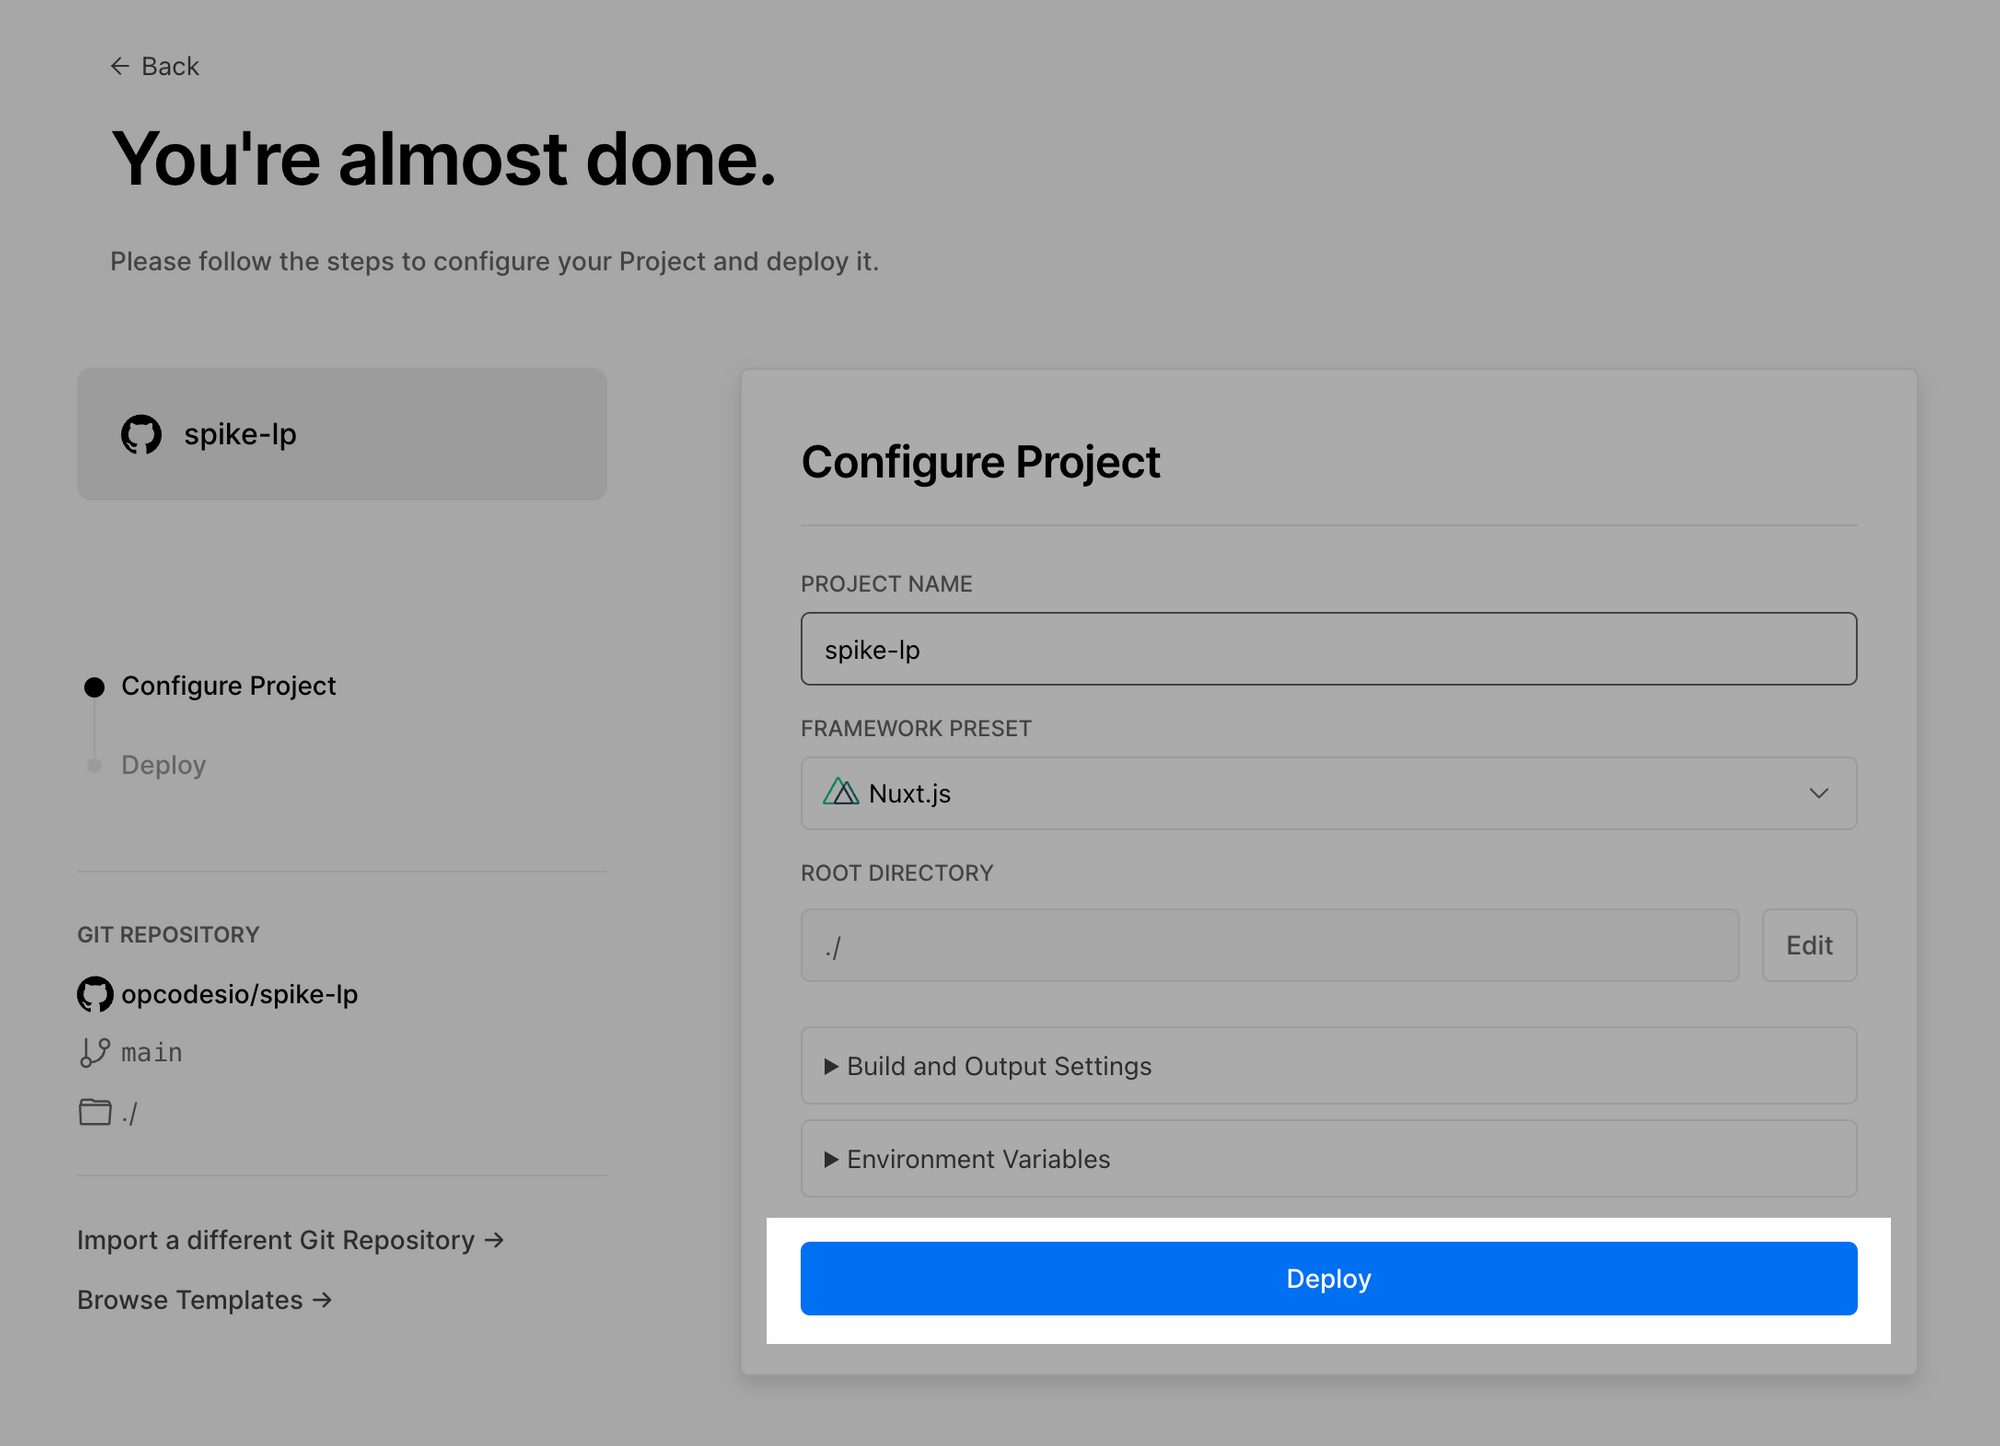
8. Deploy with Vercel
... or your chosen platform. It should be as easy as connecting to your GitHub repository of the landing page and clicking Deploy/Build!
9. Connect your domain
An optional step, but will help with looking professional and trustworthy. Many hosting platforms also provide their own subdomain URLs that you can start using immediately if you don't own a domain.
Congratulations!
You have build a landing page in just a few hours of copy/pasting and adjusting some code. Don't forget to check the PageSpeed of your new site and be amazed. 🤓
You have the full source code of the page and you can push changes to it at any time and see it deployed in a matter of seconds! Not to mention the ability of rollbacks and cloud functions for advanced actions such as collecting emails or processing purchases from your landing page. Sure, you would have to code all of that, but you're a developer and it's fun, right?
Thanks for reading, my friend, and don't forget to share this article with a developer friend of yours!